Tile is for the most part – waterproof. Natural stones no, but porcelain tiles for the most part will not absorb water. Ceramic tiles installed on the walls will shed most water. Grout, on the other hand sucks. Literally. Grout is sand that is glued together with Portland cement (with some exceptions – epoxy grout, non-sanded grout, etc..). Therefore it acts like sand and absorbs water as it flows across the surface of the grout. This means that when building your shower, you have to consider what the water will do when it passes through your grout and onto the wall behind.
(Interesting side note for those techies out there….Read an article on the Building Science Corp website that says water can wick up in wood several hundred feet – they know this because of the giant redwood trees. In concrete, due to the ultra-small pores and capillary action, mathematically water can wick up SIX MILES!)
Shower Waterproofing Options
Waterproofing the shower means to apply something to the walls and floor behind the tiles to catch the water that seeps through the grout and direct it into the drain. There are several ways to do this – here are a few of the more common methods we see:
The Rubber Liner Shower Pan
The rubber liner is the builders favorite waterproofing system. It is a sheet of rubber that is applied to the shower floor before the tiles are set, and is fastened to the drain with a funnel-shaped collar that is part of the tile drain assembly. The sheet of rubber then is folded in the corners and brought up onto the wall 8 to 12” or so. Like this grey one over to the right.

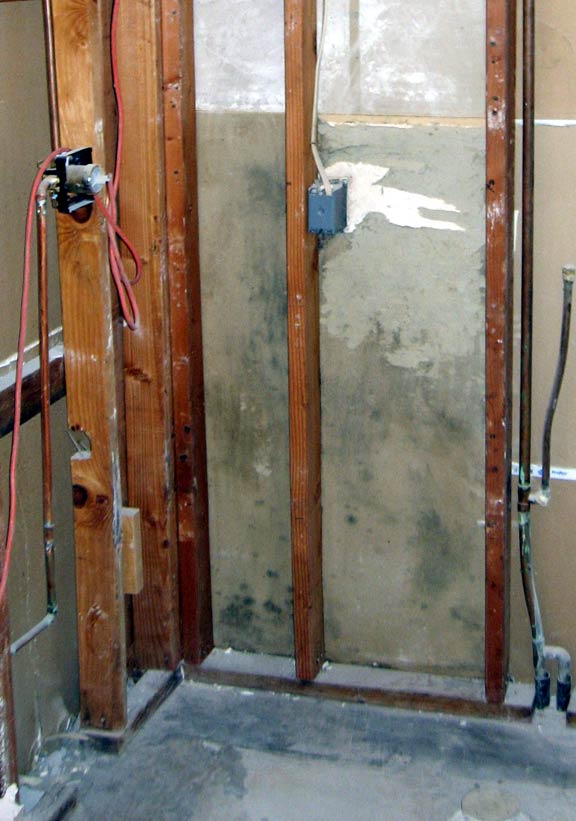
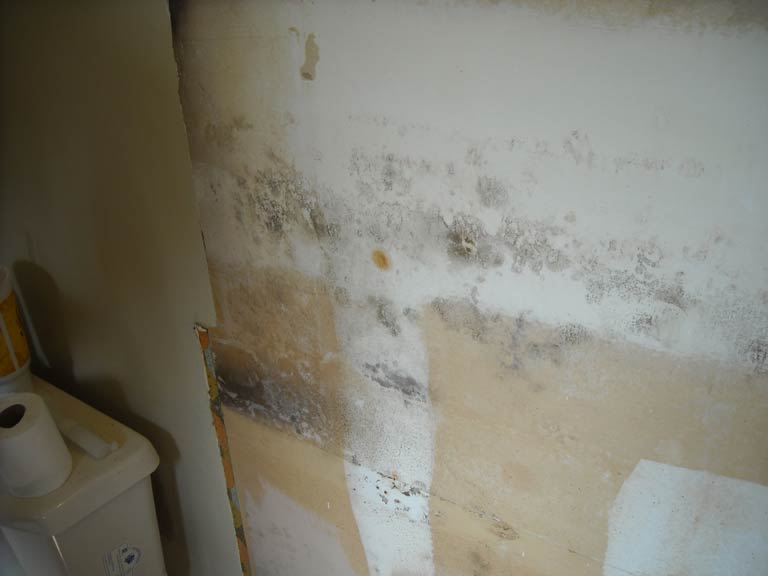
I personally despise the rubber liner! In every case but one, when we tear out a shower built with a rubber liner, I will find water damage on the walls up above the liner, usually near the corners where the water worked around the tiles or through a crack in the grout.
Here’s just a few showers that we tore out that had rubber liners – all with mold behind the tiles:
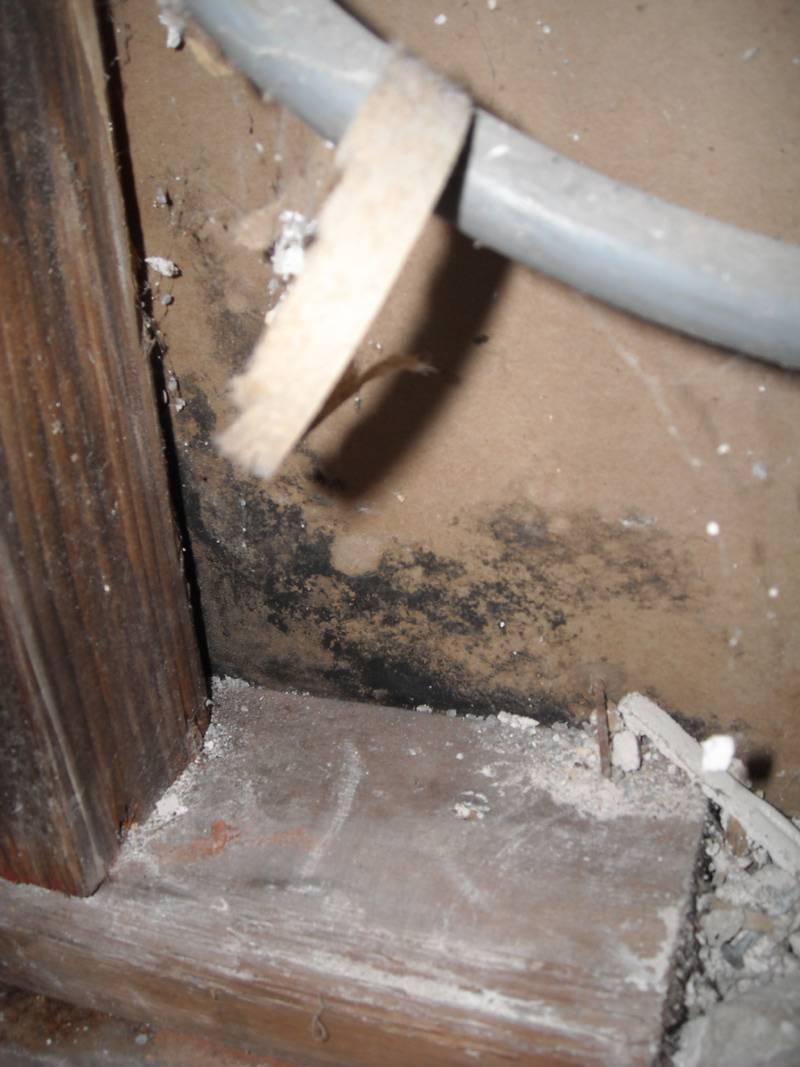
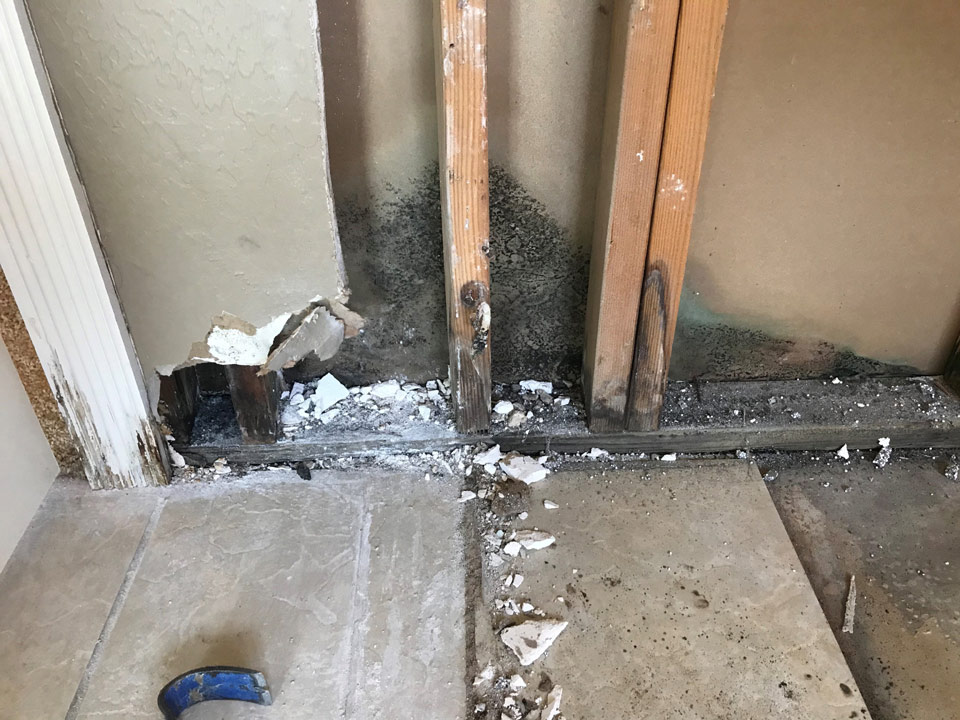
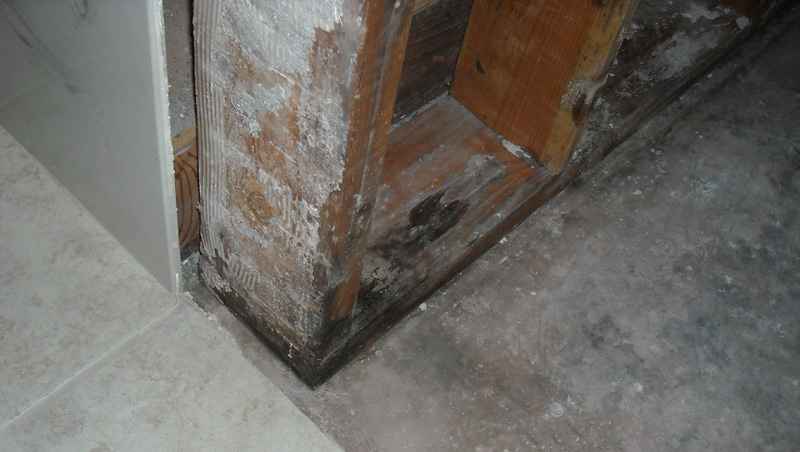
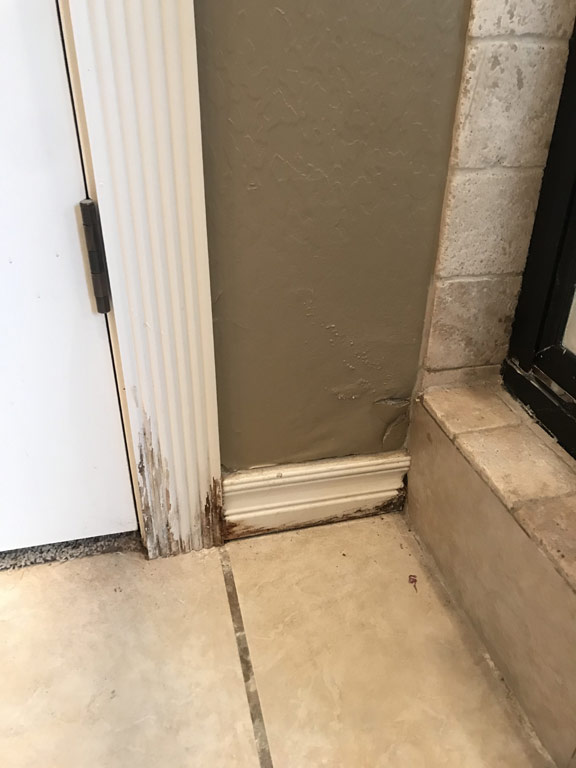
And when you think – my walls aren’t waterproofed – you are correct. Then there’s this: during new construction, your home was inspected by city inspectors. Keep in mind that the inspector is looking for minimum standards. Not outstanding, long lasting, or superb. Just minimum. Or to say it another way:
Meeting code requirements is like getting a 70 on your exam.
Then there is the installation manner. If the corners aren’t folded properly, your shower can start to leak the first time you turn the water on. If installers step on a stone and walk on the liner it can put a hole in it. Or total incompetence….I found one that had been installed, cut at a splice, then stapled to the walls! Obviously this installer did not understand that the liner WILL get wet – maybe he thought the grout and tile would stop the water? This is that one here:
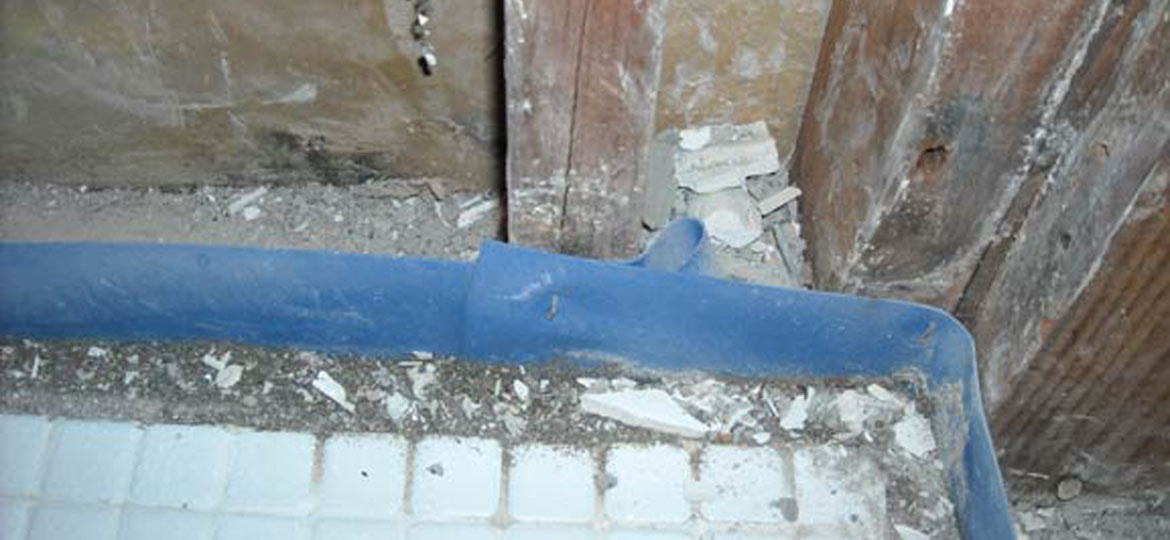
Another problem with the rubber liner is how they are installed on the subfloor. The way they should be installed is shown here:
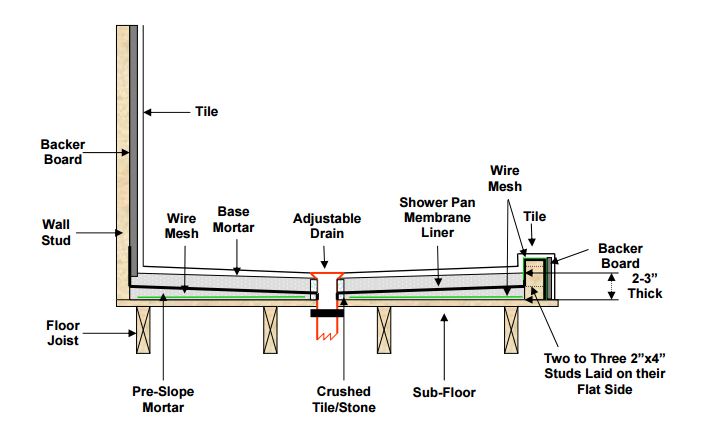
See the words “Pre-Slope Mortar” on the lower left? This is a mortar bed that is sloped toward the drain placed directly on the subfloor. The rubber liner then is placed ON TOP of this sloped bed so that the liner is sloped toward the drain directing water that way. I have torn out hundreds of showers in the OKC area and have yet to find one built this way! Here, the contractors set the rubber liner directly on the subfloor – which is flat – so that there will always be standing water below the tiles in your floor. YUK! You’re standing in last week’s dirty water!
Liquid Applied – or – Fluid Applied Membranes
As shown below, these are liquid products that are rolled and brushed onto the walls and floor to direct the water to the drain. I will confess that I have never used these but I do see them at several of the tile stores around town. Nor have I encountered one in any of our tear-outs. “Why haven’t you tried them” you ask? Because when I am standing at the tile counter, waiting for them to pull my tile order, reading through the various brochures for the roll on waterproofing membranes, I can tear the sample they provide without much resistance. This makes me leery of using it. I know that houses move. If you have a closet door next to your shower, every time that door is closed with much force, the shower walls get a little vibration. Will this product stand up to that movement when fully cured and “stuck” to the mortar bed on one side and tiles on the other? I don’t know. But I know the next product will move…which is why I use it….read on grasshopper….
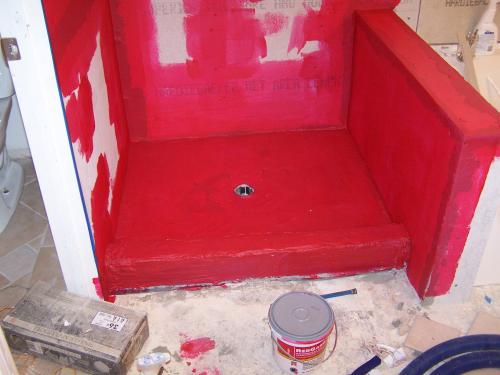
Liquid Applied Membrane painted onto the substrate.
Kerdi Waterproofing System by Schluter
This is what we use when building showers. Kerdi is a sheet of rubber with fleece mechanically adhered to both sides, that starts at the top of the wall in the shower and runs all the way to the drain. So the ENTIRE shower enclosure is waterproofed, not just the bottom 6″. I started using this when we built our first steam shower in 2006. Steam will run through grout quickly and condensate inside your walls, creating a nice home for all the mold spores already present back there. Kerdi keeps this from happening. I cannot tear the Kerdi sample with my bare hands like I can the liquid-applied products.
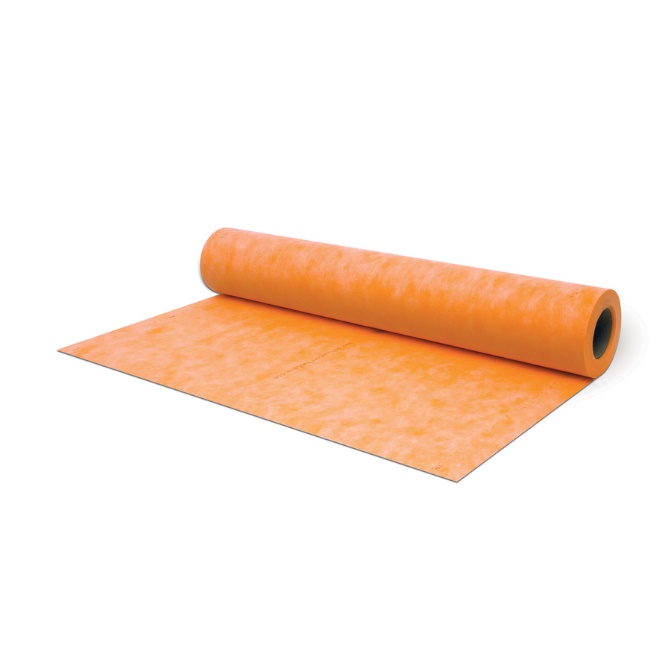
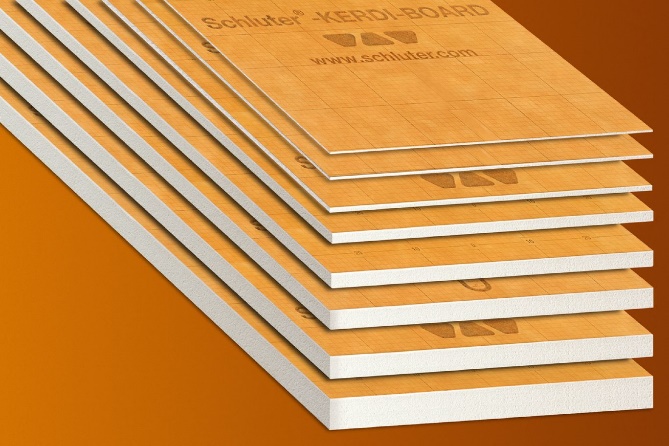
Since its inception, Schluter, the parent company, has introduced Kerdi-Board which is the same rubber membrane applied to a high-strength foam core, making its own wallboard. No need to figure out what kind of wall material to use – greenboard, Hardi, concrete backer board – just use Kerdi-board.
Kerdi-board comes in thicknesses from 3/16″ up to 2”. It also comes in various panel sizes such as 48″ by 32″, 64″, 96″, or 120″, allowing for seamless configurations in most showers.
It is important to understand all of the various parts that go into building a complete shower waterproof system with Kerdi – they have pre-folded corners, bands to join multiple pieces, and proprietary screws and washers for hanging the walls. Schluter does a thorough job of educating you on what will be needed – they provide many free training videos and even free training classes at their facilities for tile setters willing to get there.
WEDI Waterproofing system
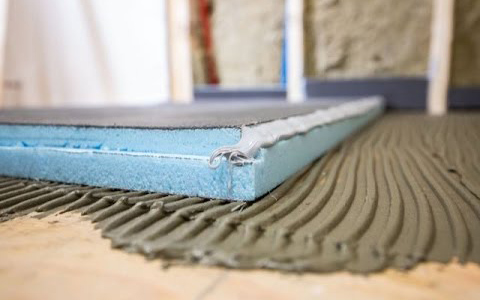
Now some contractors may write me and say WEDI is the better waterproofing shower system. You may be right. I have attended their presentations, and the only reason I have not used it is the same as the liquid applied membranes – houses move. The manner in which the Wedi wall and floor are attached leaves me thinking that if there is any shuttering of walls, that glue joint can crack just enough to let water through. They do not have a band to cover the gap – they rely upon that thin strip of glue.
WEDI walls are glued to the base at the notch on the edge shown here.
When you are planning a bathroom project that will include a shower or tile walls behind a tub, you have to decide which waterproofing system is right for you. As I mentioned previously, we use the Kerdi System as we believe it is simply the best waterproofing system on the market. And when we are hired to work for someone, we take no shortcuts. We see our customers daily as we visit Target or go out to dinner. We want to know that we did the right job and that our work will stand the test of time.
Feel free to contact us with any questions about this article. And give us a call to discuss your next remodel project – you’ll be glad you did!
Robert


